A couple of months ago a good friend invited me to his “Speyside Tour”. Now I have ridden multi-day rides before, traversing the lengths of Britain, Spain and France, but never before where I needed to be fully self supported, needing to carry my own kit with me; previously we had organised either a support vehicle (my long suffering wife) or taxis to carry luggage, etc from that morning’s starting point to the evening’s destination.
This meant a rethink. Not just in terms of the logistics of getting from A to B each day, but which bike to take, do I take panniers or frame bags, what do I wear to make the long days in the saddle comfortable and less “lycra clad”, this was after all to be a tour conducted at a leisurely pace and not treated as a sporting activity.
How do I ensure that I only take what I need, do I wash my essential clothes each day or take extra and accept the extra load, and talking of weight, adding an extra 20KG onto what I am used to would mean a total rethink in terms of the gears needed for the hills. With no backup, we would also need to carry a much wider range of tools in addition to the usual roadside multi-tool kit and puncture repair kits.
We would also be riding on lanes and “cycle paths”, which in the UK means hastily laid and unmaintained tarmac or gravel, littered with stones, potholes, weeds, sticks and glass. Let’s face it, the type of surfaces that would strip the rubber off most road tyres, tear holes in your sidewalls and buckle wheels with nonchalance.
Yes, a rethink would be needed.
My first thought would be to take my trusty stainless steel Condor, yeah okay it is a road bike, but steel, that’s what tourers are made of…however the clearances in the front forks limits the tyre width to 25mm, that would not be enough…research and taking a little advice from Ashley at my local bike shop suggested a minimum of 28mm, or preferably 35mm tyres; lower pressure, more resilience, more comfort over gravel lanes and the expected poor road surfaces. The Condor also does not possess braze-on lugs, ruling out all but the most expensive type of pannier rack….meaning I would need to use (buy) frame bags.
In the end, the tyre limitation and the raised eyebrow from Ashley, reminding me that the Condor is a thoroughbred and not a mule wagon, so I ruled out that bike.
No problem, I have a few other bikes in the stud, and having ruled out the Condor, “Shrek” my sick green cyclocross bike was the obvious choice. With disk brakes, generous tyre clearances and a handful of braze-ons, a geometry for speed, and a bottom bracket whose height was designed for off-road as well as road. It was the perfect choice.
However, did I mention designed for racing ?
Although it has 2 x 11 gears, it is designed for racing around Cyclocross circuits, ie close ratios, with the idea that you pick it up and carry it over your shoulder 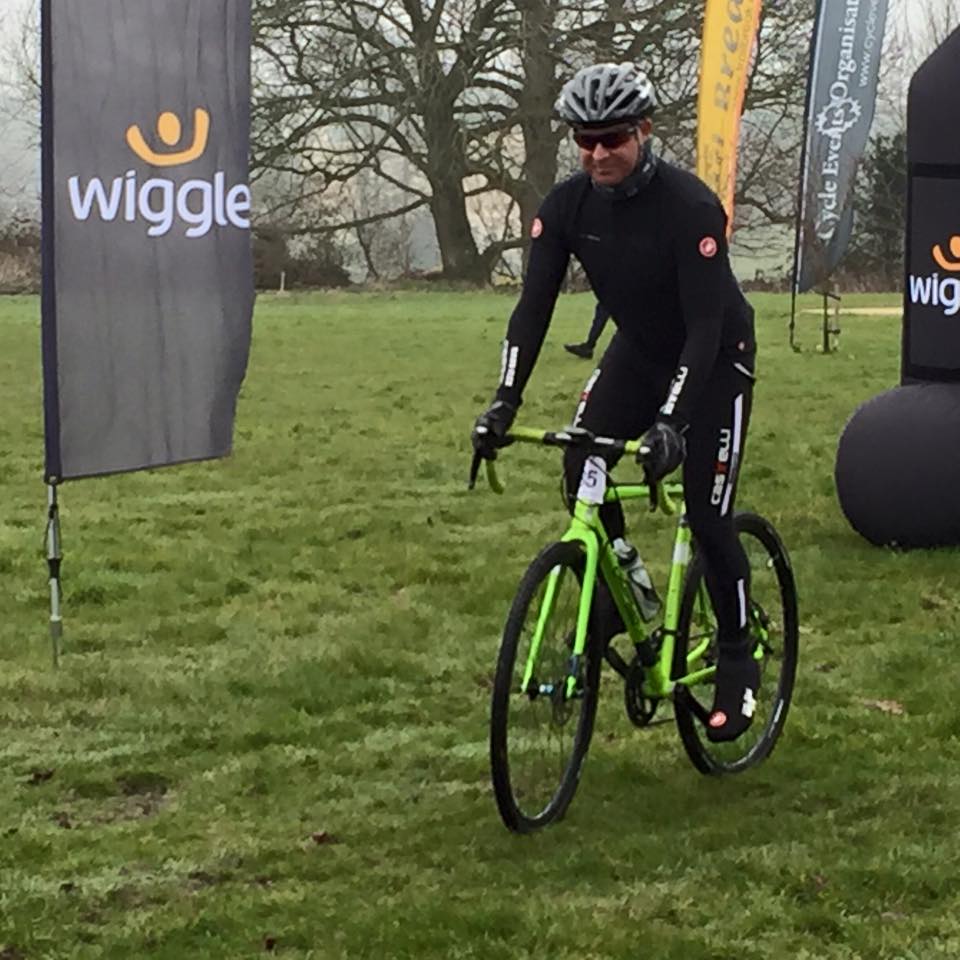 on the especially designed Cyclocross circuits’ steep banks and obstacles.
We needed to rethink the gears.
Thankfully I did not need to change the cranks, just the sprockets at the back, the chain length and add an extender to the dropout to accommodate the huge 34 tooth sprocket that promised to get me up Everest (or in this case The Lecht). Not quite the “triple” setup you see on a lot of tourers, but should be good enough.
Now to decide on whether to take panniers or frame bags (bike packing as it is trendily called). Panniers offer convenience and come in sizes large enough for most people’s kit, although as they sit over the rear wheel meant that the weight was at the back, making the front steering light and twitchy. Bike packing is a relativiely new concept, which uses various especially designed bags that fit into the triangle in the frame and on the top bar as well as being slung under the saddle. Great in terms of weight distribution, but somewhat limited in terms of what can be carried, and as we found out, you need to take several bags which add to the phaffing each morning and evening routine as you pack and unpack your stuff.
The deciding factor for me was that my brother has a pair of new “Ortlieb” panniers, top notch and water-proof, all I needed to do was buy a rack. I would have been tempted to bike pack, but that would have added significantly to the cost, and as I am not a seasoned tourer, they would sit there, gathering dust and taunting me to take them on their next tour.
Panniers it was to be !
Having installed the rack I placed the panniers on the bike, delighted by the positive “click” as they attached themselves securely in place with no drama.
Next step was to get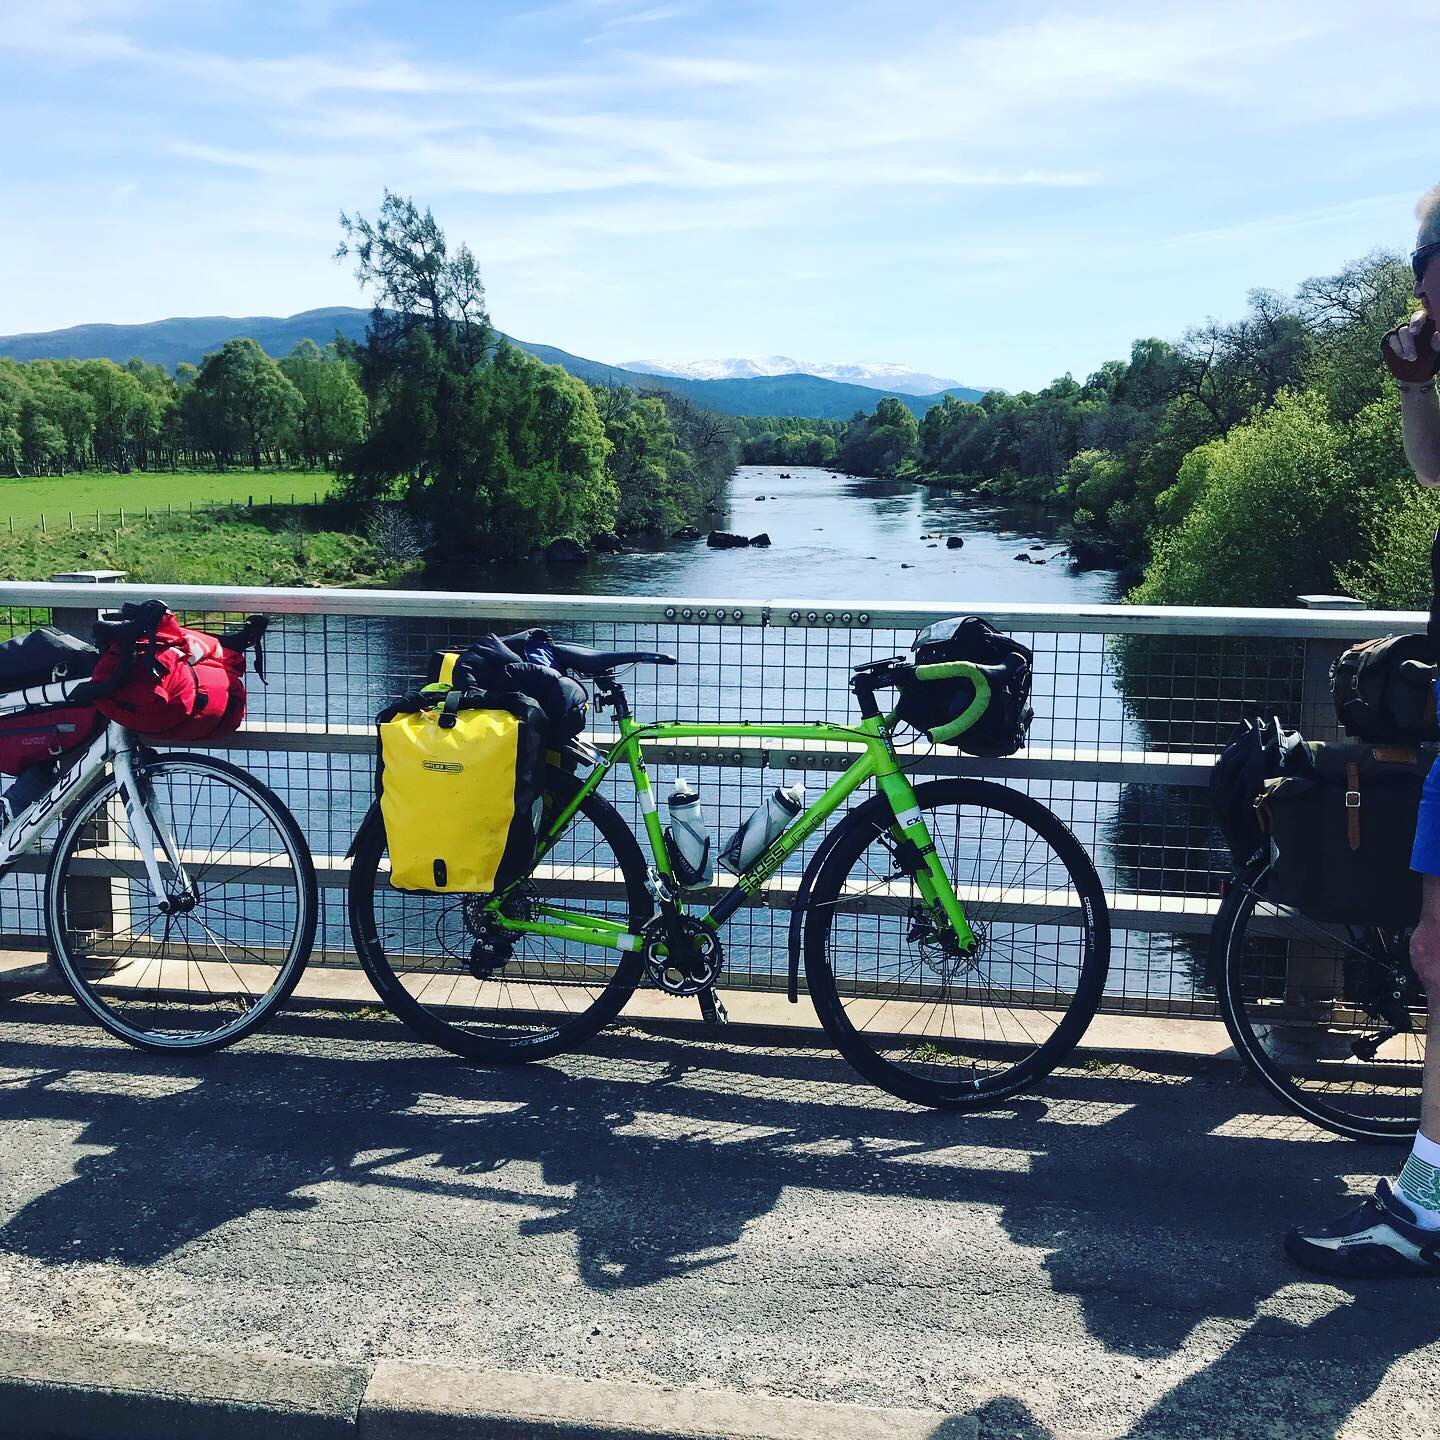 on the bike…..a feat usually accomplished with aplomb, however now requiring a little more thought as the panniers made it more difficult to get your leg over the saddle.
I did not think too much of this, however during the tour, two young ladies, fresh from a tasting at The Glenlivet distillery walked past as I was preparing to mount Shrek. They admired his sick green colour and as I thanked them I innocently quipped I was having trouble getting my leg over. Without hesitation they both asked if they could help.
Now you could ask were they simply helping a slightly “senior“ gent get onto his bike, or having been slightly lubricated by a cask strength single malt or two, were they upto no good. I am not sure if I detected a twinkle or two in their eyes, or it could have simply been the fresh Highland air that created a flush in their cheeks….we will never know.
Anyway, back to touring. Next I needed to think about pedals and shoes. I would be walking more than usual, stopping for coffee and lunch, mulling around scenic Highland glens and sleepy Speyside harbours. Touring bikes usually have pedals that come with clips that hold your touring shoes, and secured with a strap. Clipless pedals are for road bikes and by design the shoes need cleats that sit on the sole, not good for walking about in. Shrek comes with SPD pedals that are designed such that the cleat sits within the sole of the shoe, meaning you can clip in and walk…the best of both worlds. A had an old pair of Shimano shoes with SPDs, and while not ideal, would serve the purpose. I worried about the fact that they were not designed for touring and were anything but waterproof, but combined with SealSkin overshoes and waterproof socks (they have a rubber membrane sown in between two layers of sock material) I was pretty confident, and rightly so; we experienced a cloud burst and hail storm, my feet remained comfortable, dry and cosy.
Next was what to wear. It would not be appropriate to look like a lycra-clad weekend cycling warrior. We needed a touch of class, something that could be worn that did not upset or excite Scotland’s blue rinse brigade that congregate in Highland tearooms, but was practical, allowing a degree of give and comfort for cycling, could be easily washed and dried overnight, and would stand up to a little rain and general wear and tear that accumulates when cycling long distances.
My chosen material for the jerseys would be Merino wool. Strong, warm, breathable and cut for style as well as function. For the cycling shorts, I chose a pair of randonneur shorts from Rapha, a little “urban” and “on trend”, and some people might say too “hipster“, but from my experience a very well designed and constructed pair of shorts, which when combined with padded underwear (from Halfords, the other end of the trend scale), were ideal. For colder mornings I took a pair of long bib tights from Castelli, after all, when it is blinking freezing cold, go for what you know works.
So, how did I fare on my first self-supported tour. I will explain next time….cheers !
