
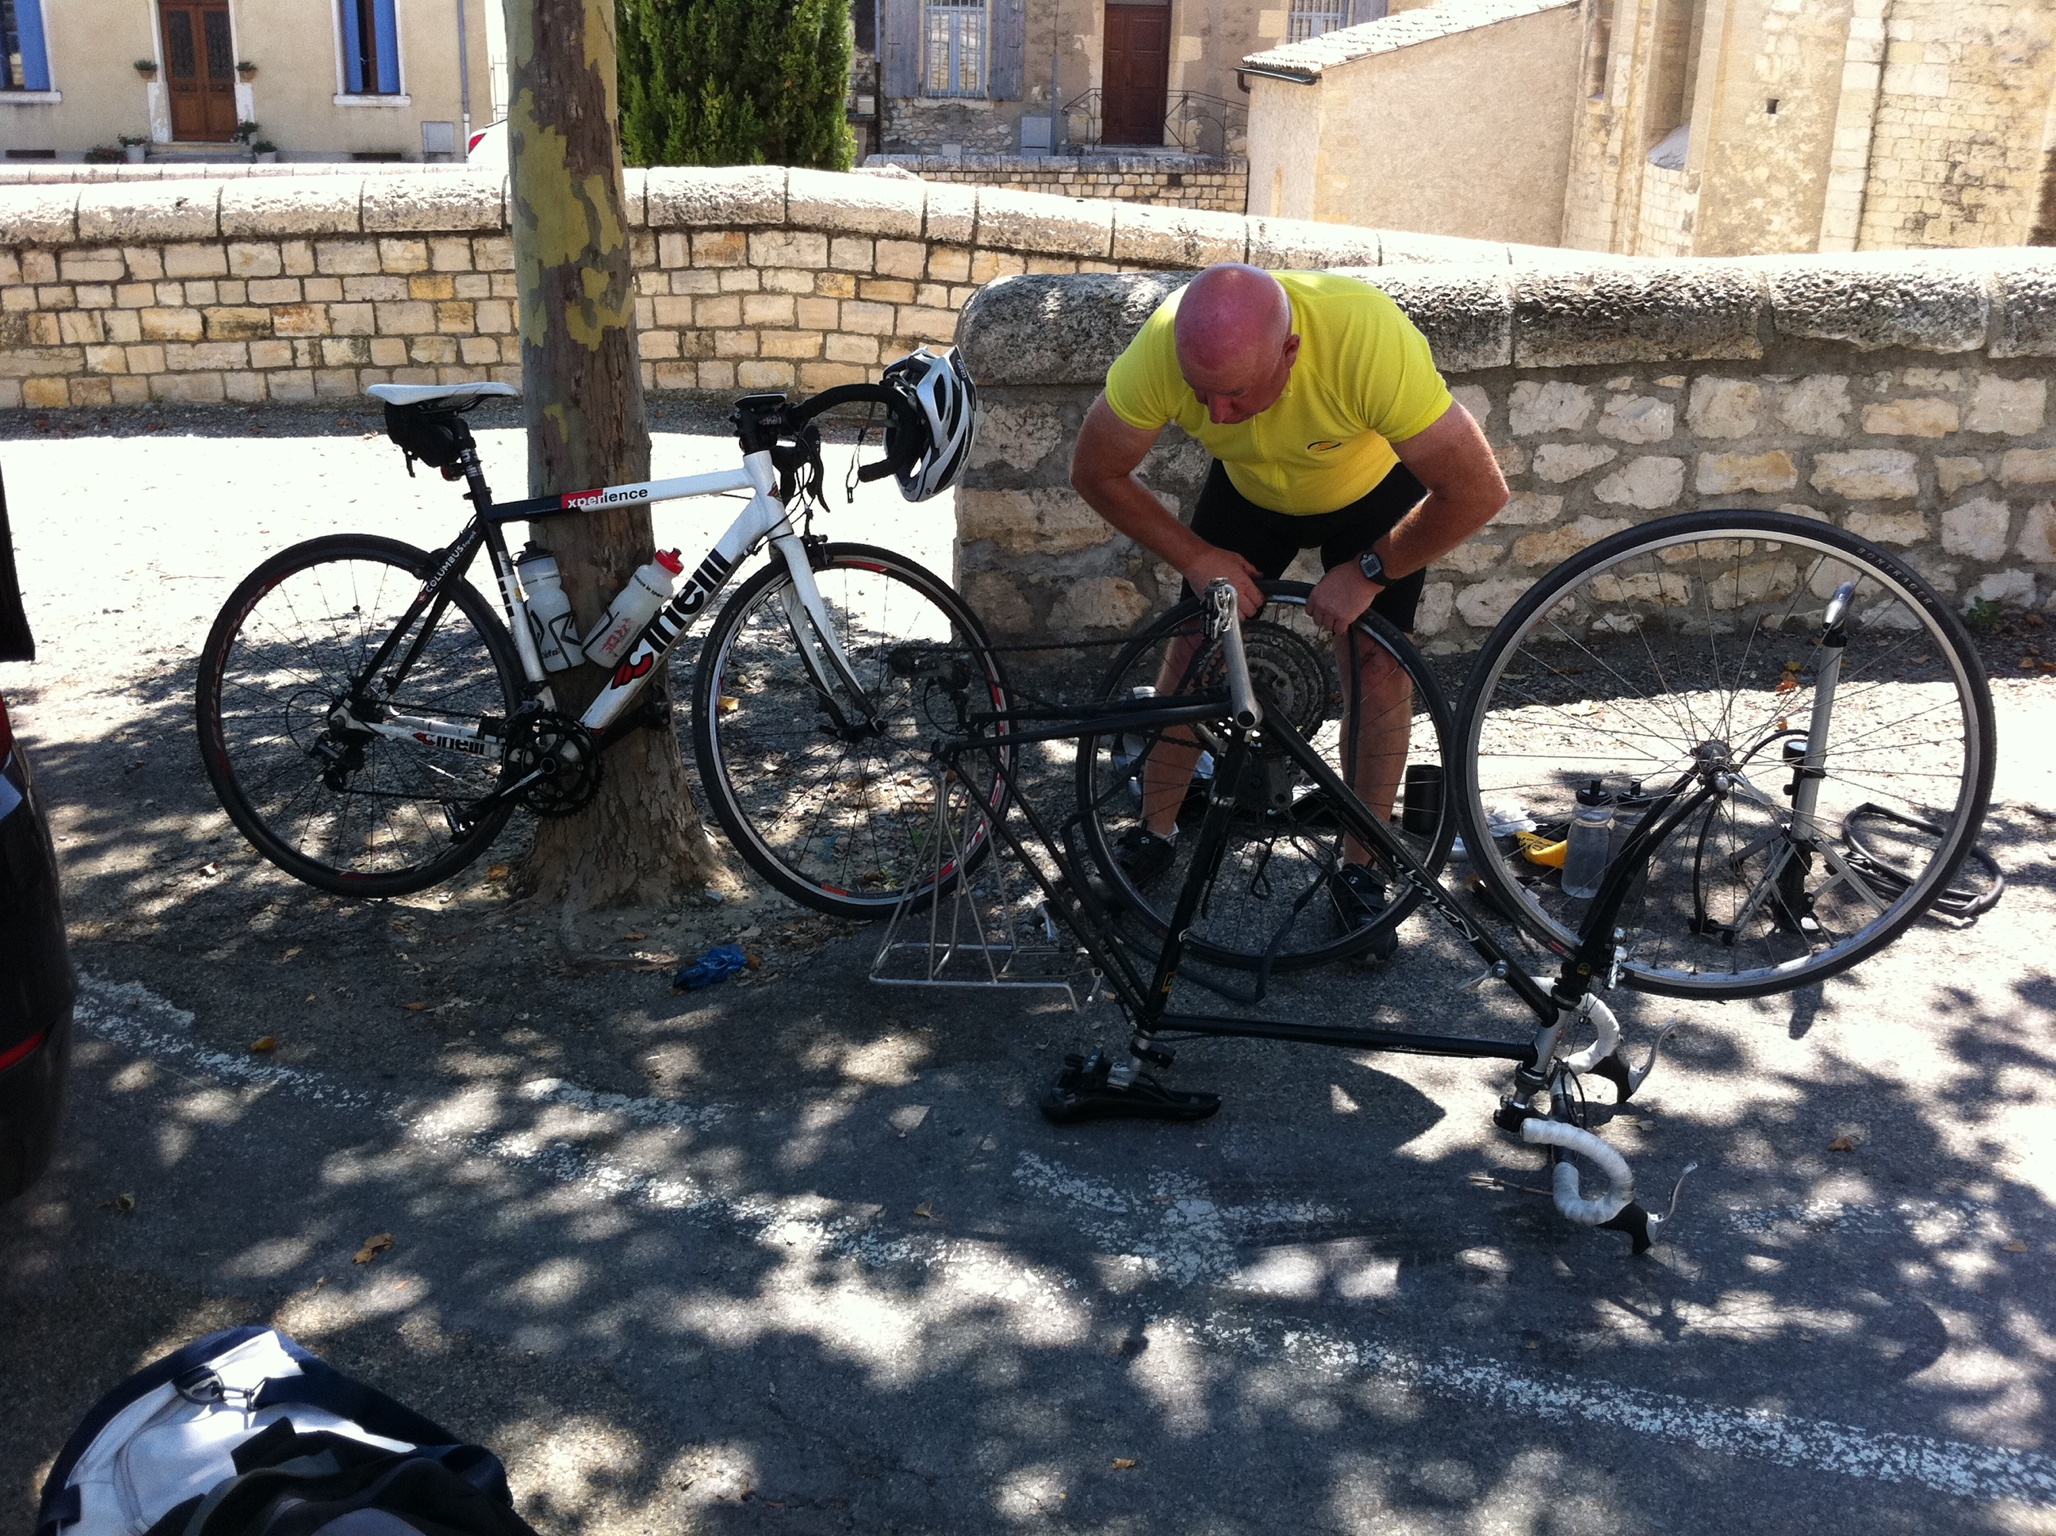
So you’re now ready for your ride, decided on what to wear (after checking the weather), checked the bike for anything untoward, put a little air in the tyres, chosen your favourite jersey, and if you have read “Preparing for Mechanical Issues: Part 1” then you will have all you need to get you back on the road in the event of minor mechanical issues and breakdowns.
 First up, and let’s face it, by a large margin of probability, if there is something that will go wrong, it’s going to be a puncture. So let’s concentrate on that for this primer.
There are plenty of videos and guides on how to repair a puncture, so I will instead look at how we can reduce our chances of it occurring.
There are a few types of puncture, ranging from the slow puncture, usually caused by a small sharp object piercing the tyre, a tear caused by you riding over sometime much larger, perhaps broken glass, or a “pinch puncture” caused by too low tyre pressure allowing the inner tube to poke between the tyre and the wheel rim and hence get “bitten”. In most instances these types of puncture are more of an annoyance rather than a danger to life and limb….I recall descending a steep hill somewhere in northern France, reaching speeds over 35mph, only to discover at the bottom of the hill that I had a managed to puncture the back tyre on the descent. It might have been a little more dicey if it was the front wheel and at the same time we’d been descending an Alpine pass.
There are also the rare ‘blow out’ types of puncture, though that I have yet to experience one in 6 years of cycling and tens of thousands of miles traveled. If this was to occur, you will only hear a bang if the inner tube has somehow managed to squeeze out of the tyre, perhaps due to a failure of the tyre wall itself, or too a low pressure. Another rare situation is sudden decompression caused by a rip in the inner tube or the tyre coming off the rim, but again rare if you maintain your tyres and follow the manufacturers’ instructions on tyre fitting. Not to labour the point, but we can burst the tube if we put too much heat in the tyre by sustained and heavy braking, for example on long Alpine-type descents (not many in the UK. Note that heat dissipation is not an issue if you are using disc brakes.
So can we eliminate punctures ? The short answer is no, but we can reduce their chances and make sure we are well prepared for the eventuality. The main thing is to ensure our tyres are in good condition and we have a good quality inner tube. We also need to have the right tyre pressure in our tyres to avoid pinch punctures (see above).
Many people change their tyres in the Autumn for heavier “puncture resistant” tyres such as Continental’s Gatorskins. Alternatively, and if you have the funds, you could, like the pros, go tubeless (the tyre is itself tube shaped and glued onto the rim, and due to lack of an inner tube are more resistant to punctures. However, unless you are ready with a replacement wheel or use 2-way rims (to allow you to put on a conventional tyre/tube) then it can be a long walk home.
We can also help ourselves stay out of trouble by keeping out of the gutter and avoid riding over gravel and grit, especially in the wet, where objects are more likely to attach themselves to the tyre and then on the next rotation, bed themselves in and pierce the inner tube. Also, keep an eye out for potholes, sure to cause problems…and can be hidden as puddles in the wet.
In terms of preparation, apart from having the essentials, (and this may sound like pedantry), align the tyre label with inner tube value (when both are seated on the wheel).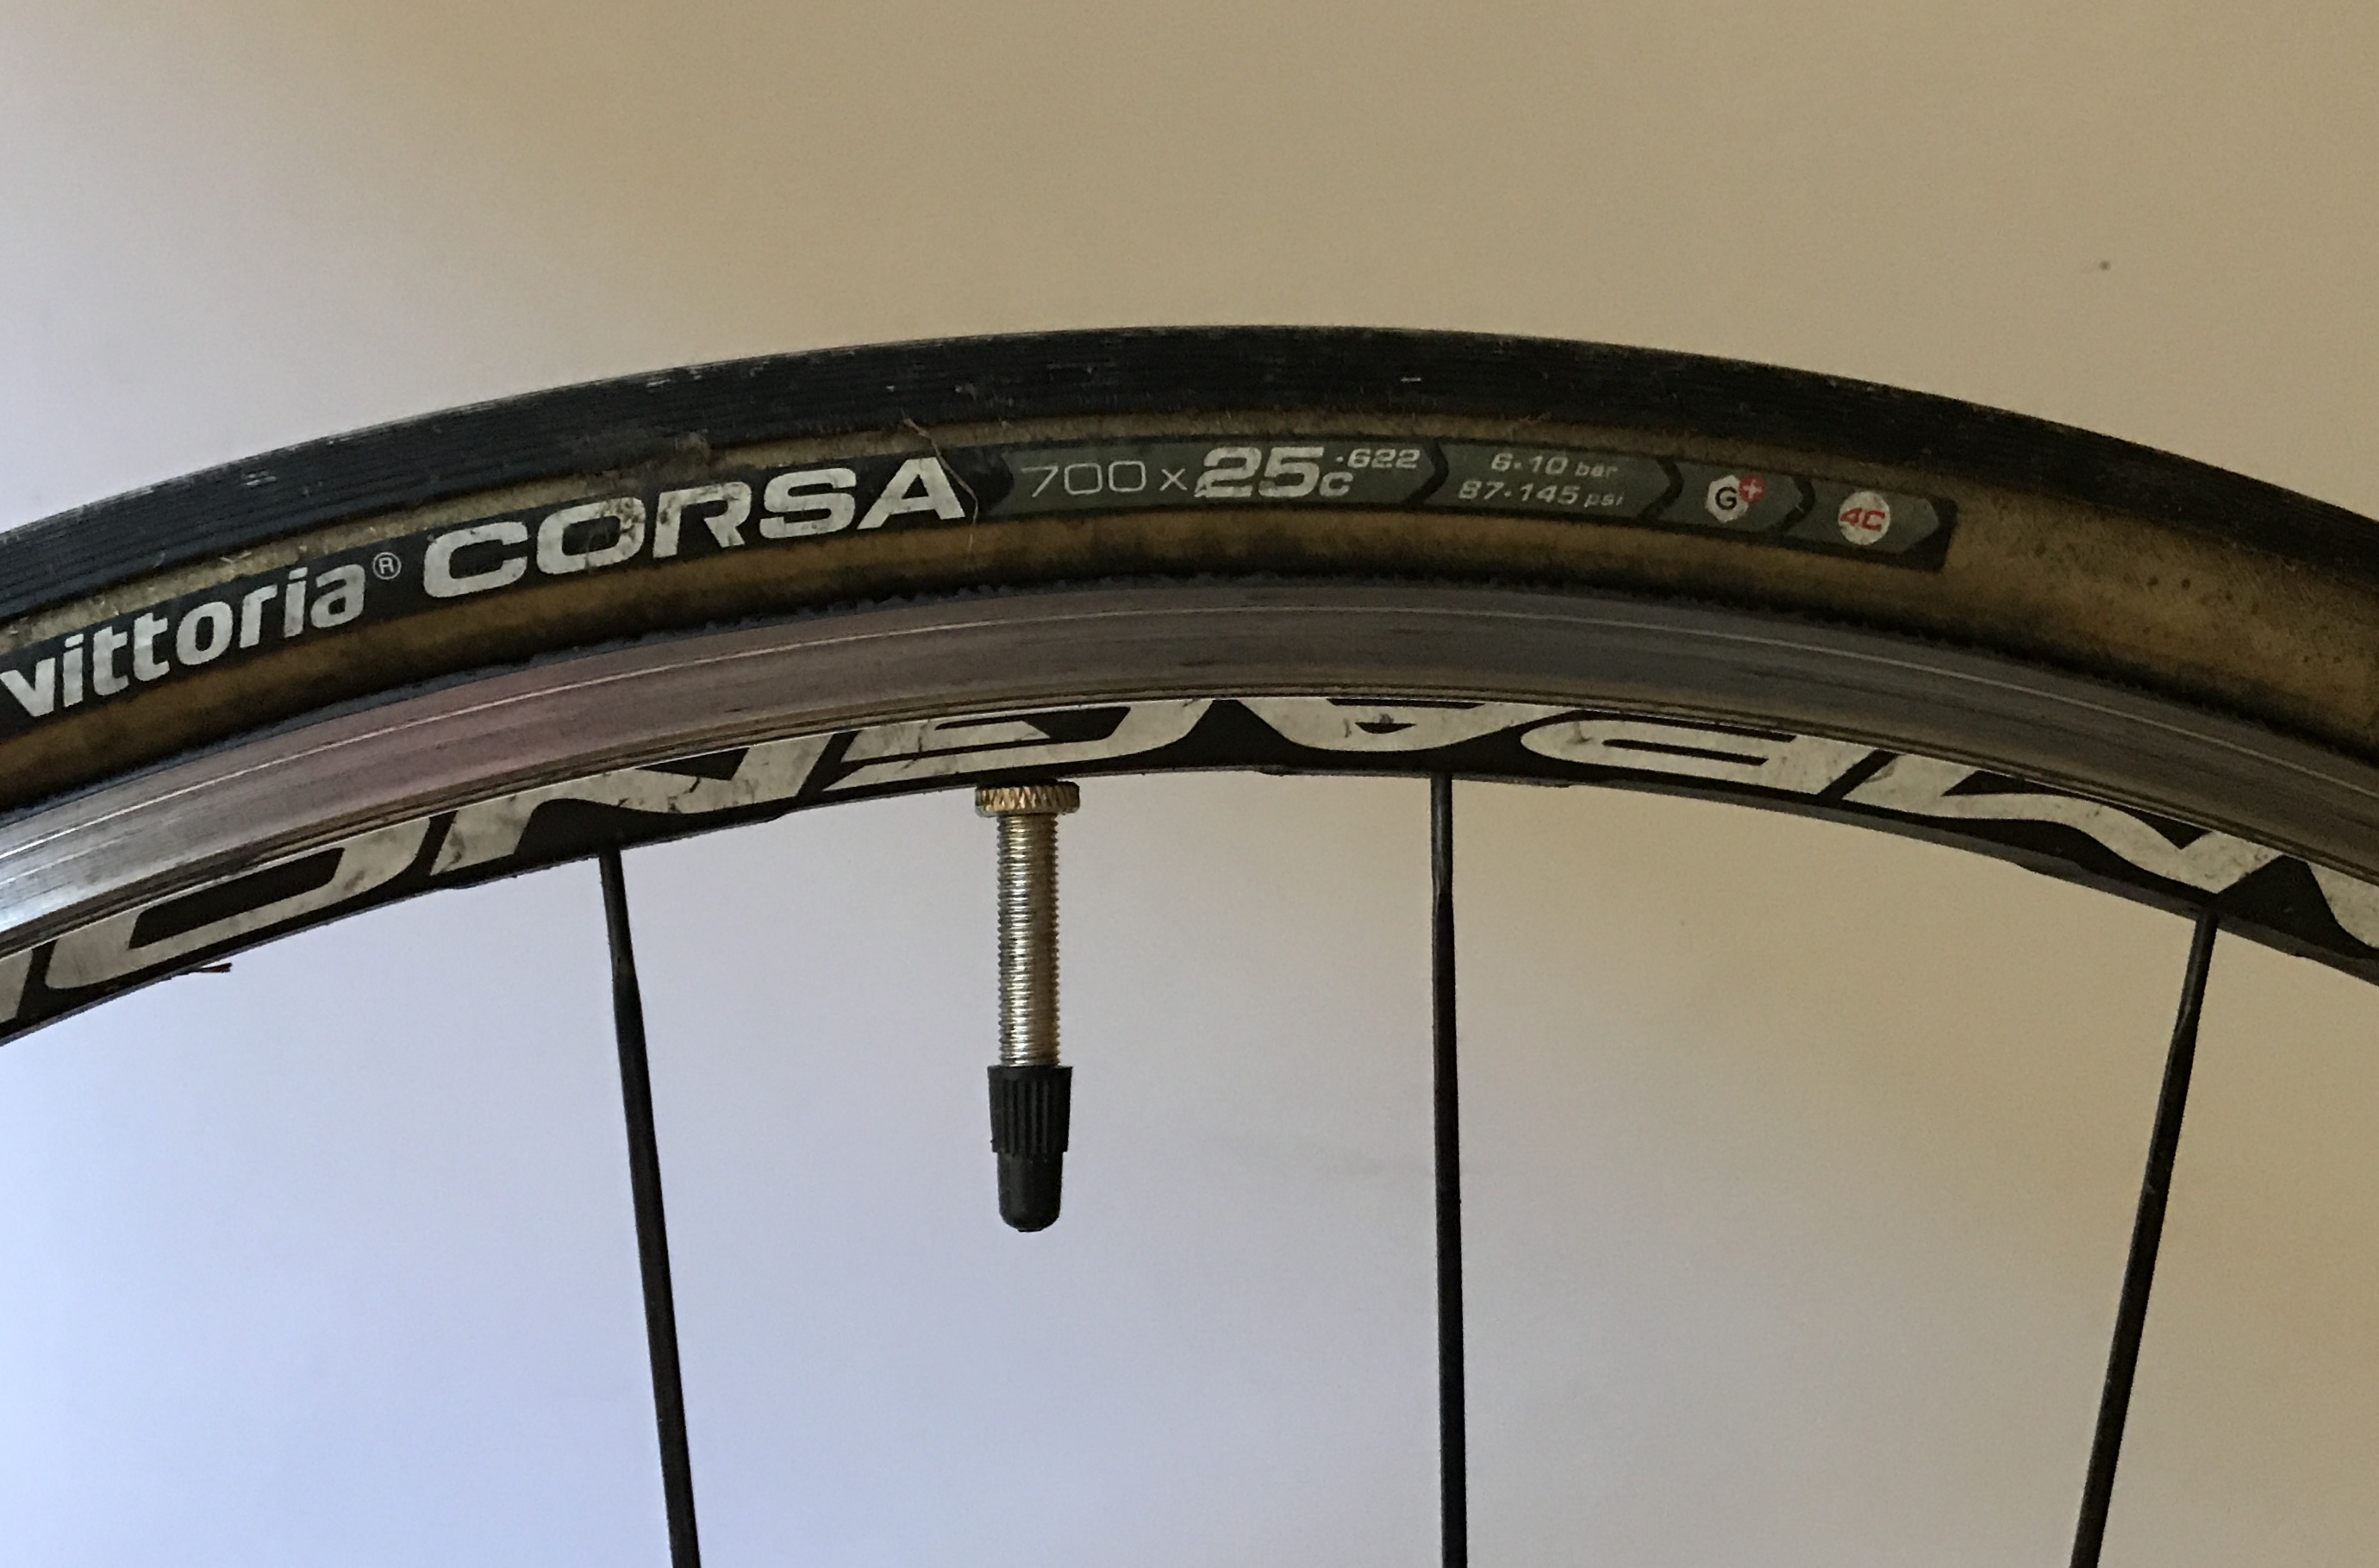 Some folks think this is for aesthetics, but has a very practical purpose.
Imagine you have a puncture, once you’ve removed the inner tube you do a check on the tyre, it looks okay so you put in a new tube, or repair the old. Two minutes later the tyre is flat again, and you question if you pinched the tube putting it on. Chances are that you missed the one, two or three small thorns or pieces of sharp flint or gravel embedded in the tyre which caused the original puncture. But how do you know where they might be hiding ? If we align the valve with the label, when we remove the tube, pump it up just a little to find the hole(s), by holding the tube against the tyre, lining up the label and tube, it will become apparent where and how many piercings you have, and where the little blighters might still be sitting in the tyre.
 First check the outside of the tyre for the obvious offending shards, then turn the tyre inside out, use your finger to feel inside, taking care not to cut yourself, then bend the tyre inside out to expose the inside, it should be possible to find any thorns, flint, etc poking through.
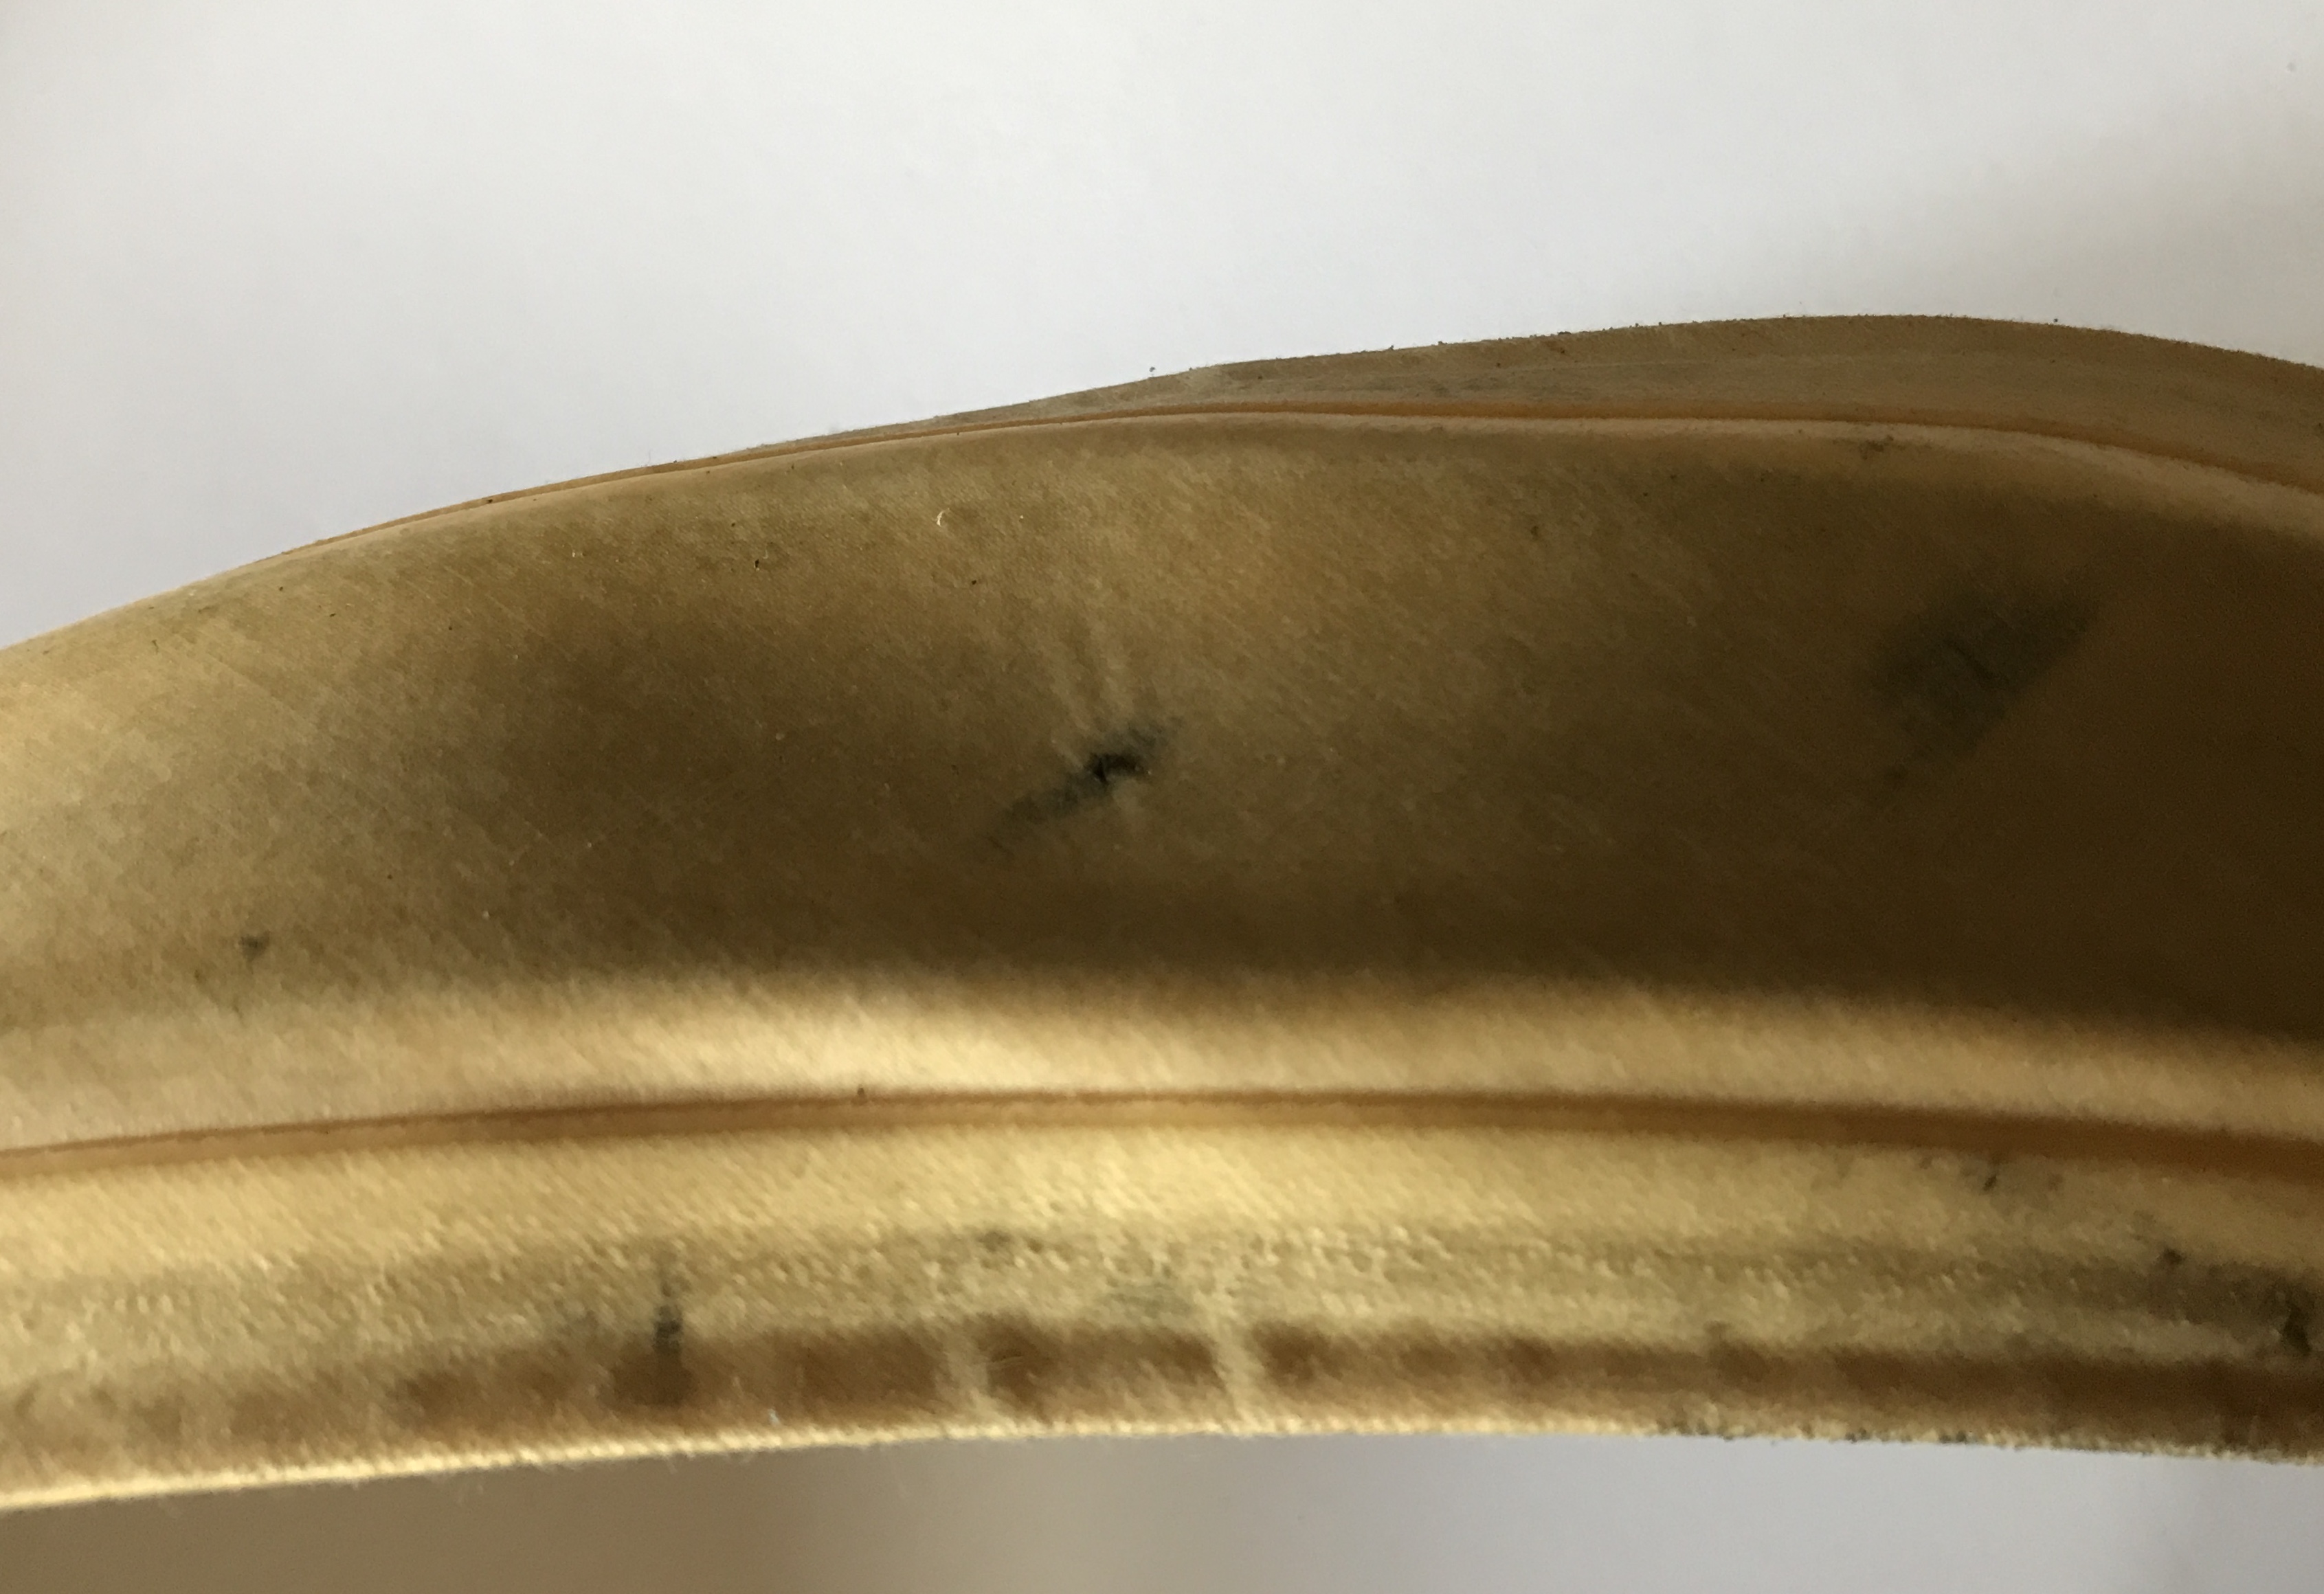
Personally, I choose Vittoria Corsa tyres which have a cream inside, which is great for seeing offending objects if they are poking through the tyre (see left, you can spot the piece of flint).
Why am I passionate about this ? Once when riding with good friends in the rain, we had a puncture while being in the middle of nowhere. It took three attempts to find the tiniest pieces of flint in the tyre, and by the time we did the rain showers had reduced us to shivering wrecks. Only when we completely removed the tyre and turned it inside out did we spot the small pieces of flint. If the label had been aligned with the valve we’d have spotted where the problems were so much quicker. Luckily we had spare tubes or we would have been royally up the creek. A harsh but necessary lesson I pass on to you.
Getting the tyre off is usually the easiest part. However if you are using deep section rims then there are two things to remember (1) make sure your spare inner tube’s valve is the right length. If it is too short, then you are screwed, and (2) check your tyre levers can cope with the deep section rim…I was on long ride, the London Revolution (2 days, 186 miles) and in the middle of the Chilterns when my friend had a puncture. Unfortunately his levers were useless with his Zipp wheels, thankfully I had a pair long enough to be able to get the tyre off.
As I said before, there are numerous videos on youtube showing you how to re-seat a tyre, so I wont repeat that, but did want to give you some tips that they may not tell you.
- Add a little air to the new inner tube so that it sits in the rim, but don’t put too much in. This helps prevent it being squashed or pinched. If you only have CO2 canisters, don’t use them at this stage, instead open the valve and gently blow into it….that’s sufficient.
- Before you re-seat the tyre, use your fingers to break the seal between the tyre and the rim on the other side so that as you re-seat the tyre you can stretch it….making those last few and hardest inches much easier to manage.
- Start at the valve and slowly seat the tyre, continually stretching the tyre along its length
- I would advise using both hands (wearing gloves) and by using the palm of your hand, roll the tyre into place
- Use tyre levers only when absolutely necessary; the risk of pinching the tyre are high and may undo all your good work.
- When the tyre is back on the rim, check both sides to see that you have not pinched the inner tube. I usually squeeze the tyre to make sure that the inner tube is not poking out.
- Gently inflate the tyre and make sure that it is seated evenly around the rim, there should be no high points, poke the valve in a little to make sure it is not been squeezed.
- The nut that screws onto the valve is optional…pros don’t use them as it slows down the process of changing the inner tube, but it is your choice…but if you do, don’t tighten it until the tyre is fully inflated.
- If you are using CO2, use one with a controllable valve so that you can govern the amount entering the tyre, you don’t want it blowing up the tyre in a few milliseconds because (a) keep checking that the tyre is seated as you inflate and (b) the speed of release of Co2 from the canister may take you by surprise and it may jump off the valve, leaving you with a empty tube and empty canister. Wear gloves to avoid your hands getting frostbite burns (a painful experience). You will also need to deflate the tyre and replace the CO2 with air as soon as you can as CO2 will leak through the inner tube in a matter of days (it sure confused me the first time it happened).
As an aside, as a youngster we used to tie a small of wire around the forks so that it was just touching the tyre, so that if we picked up anything and it stuck on the tyre it would be wiped away before it got a chance to bed in on the next rotation – I don’t know if this was effective, but a lack of products on the market that do this suggests we were wasting our time 🙂
So, the long and the short of it is that you will at some point get a puncture. If you take a few of these steps to reduce the chances and be prepared for them, when it happens it becomes an inconvenience and not a disaster.
If you want to dive deeper, I cannot recommend more highly the article on tyres/tubes by Sheldon Brown.
Next time we will delve into other ‘mechanical’ problems (other than caused by poor maintenance or bike fit) that can occur on rides, such as dealing with buckled wheels, snapped chains, broken hangers/derailleurs, stuck gears, and broken cables…I may think of a few more along the way…..
Happy Riding, Grant