Hello again !
So we have talked about what we need to take with us when we go for our midweek rides and how to manage repairing punctures.
However if you are planning a longer ride (e.g. several hours), that may take you to really remote locations where a phone signal may be a problem, or you just want to be truly self-sufficient, then we also need to include in our kit list items to cover those rare mechanical breakdowns.
In this kit list we’ll need a set of tools, or one multi-tool that includes a screwdriver, chain splitter tool and allen/torx keys (see to the right), plus a spoke key and cable ties. 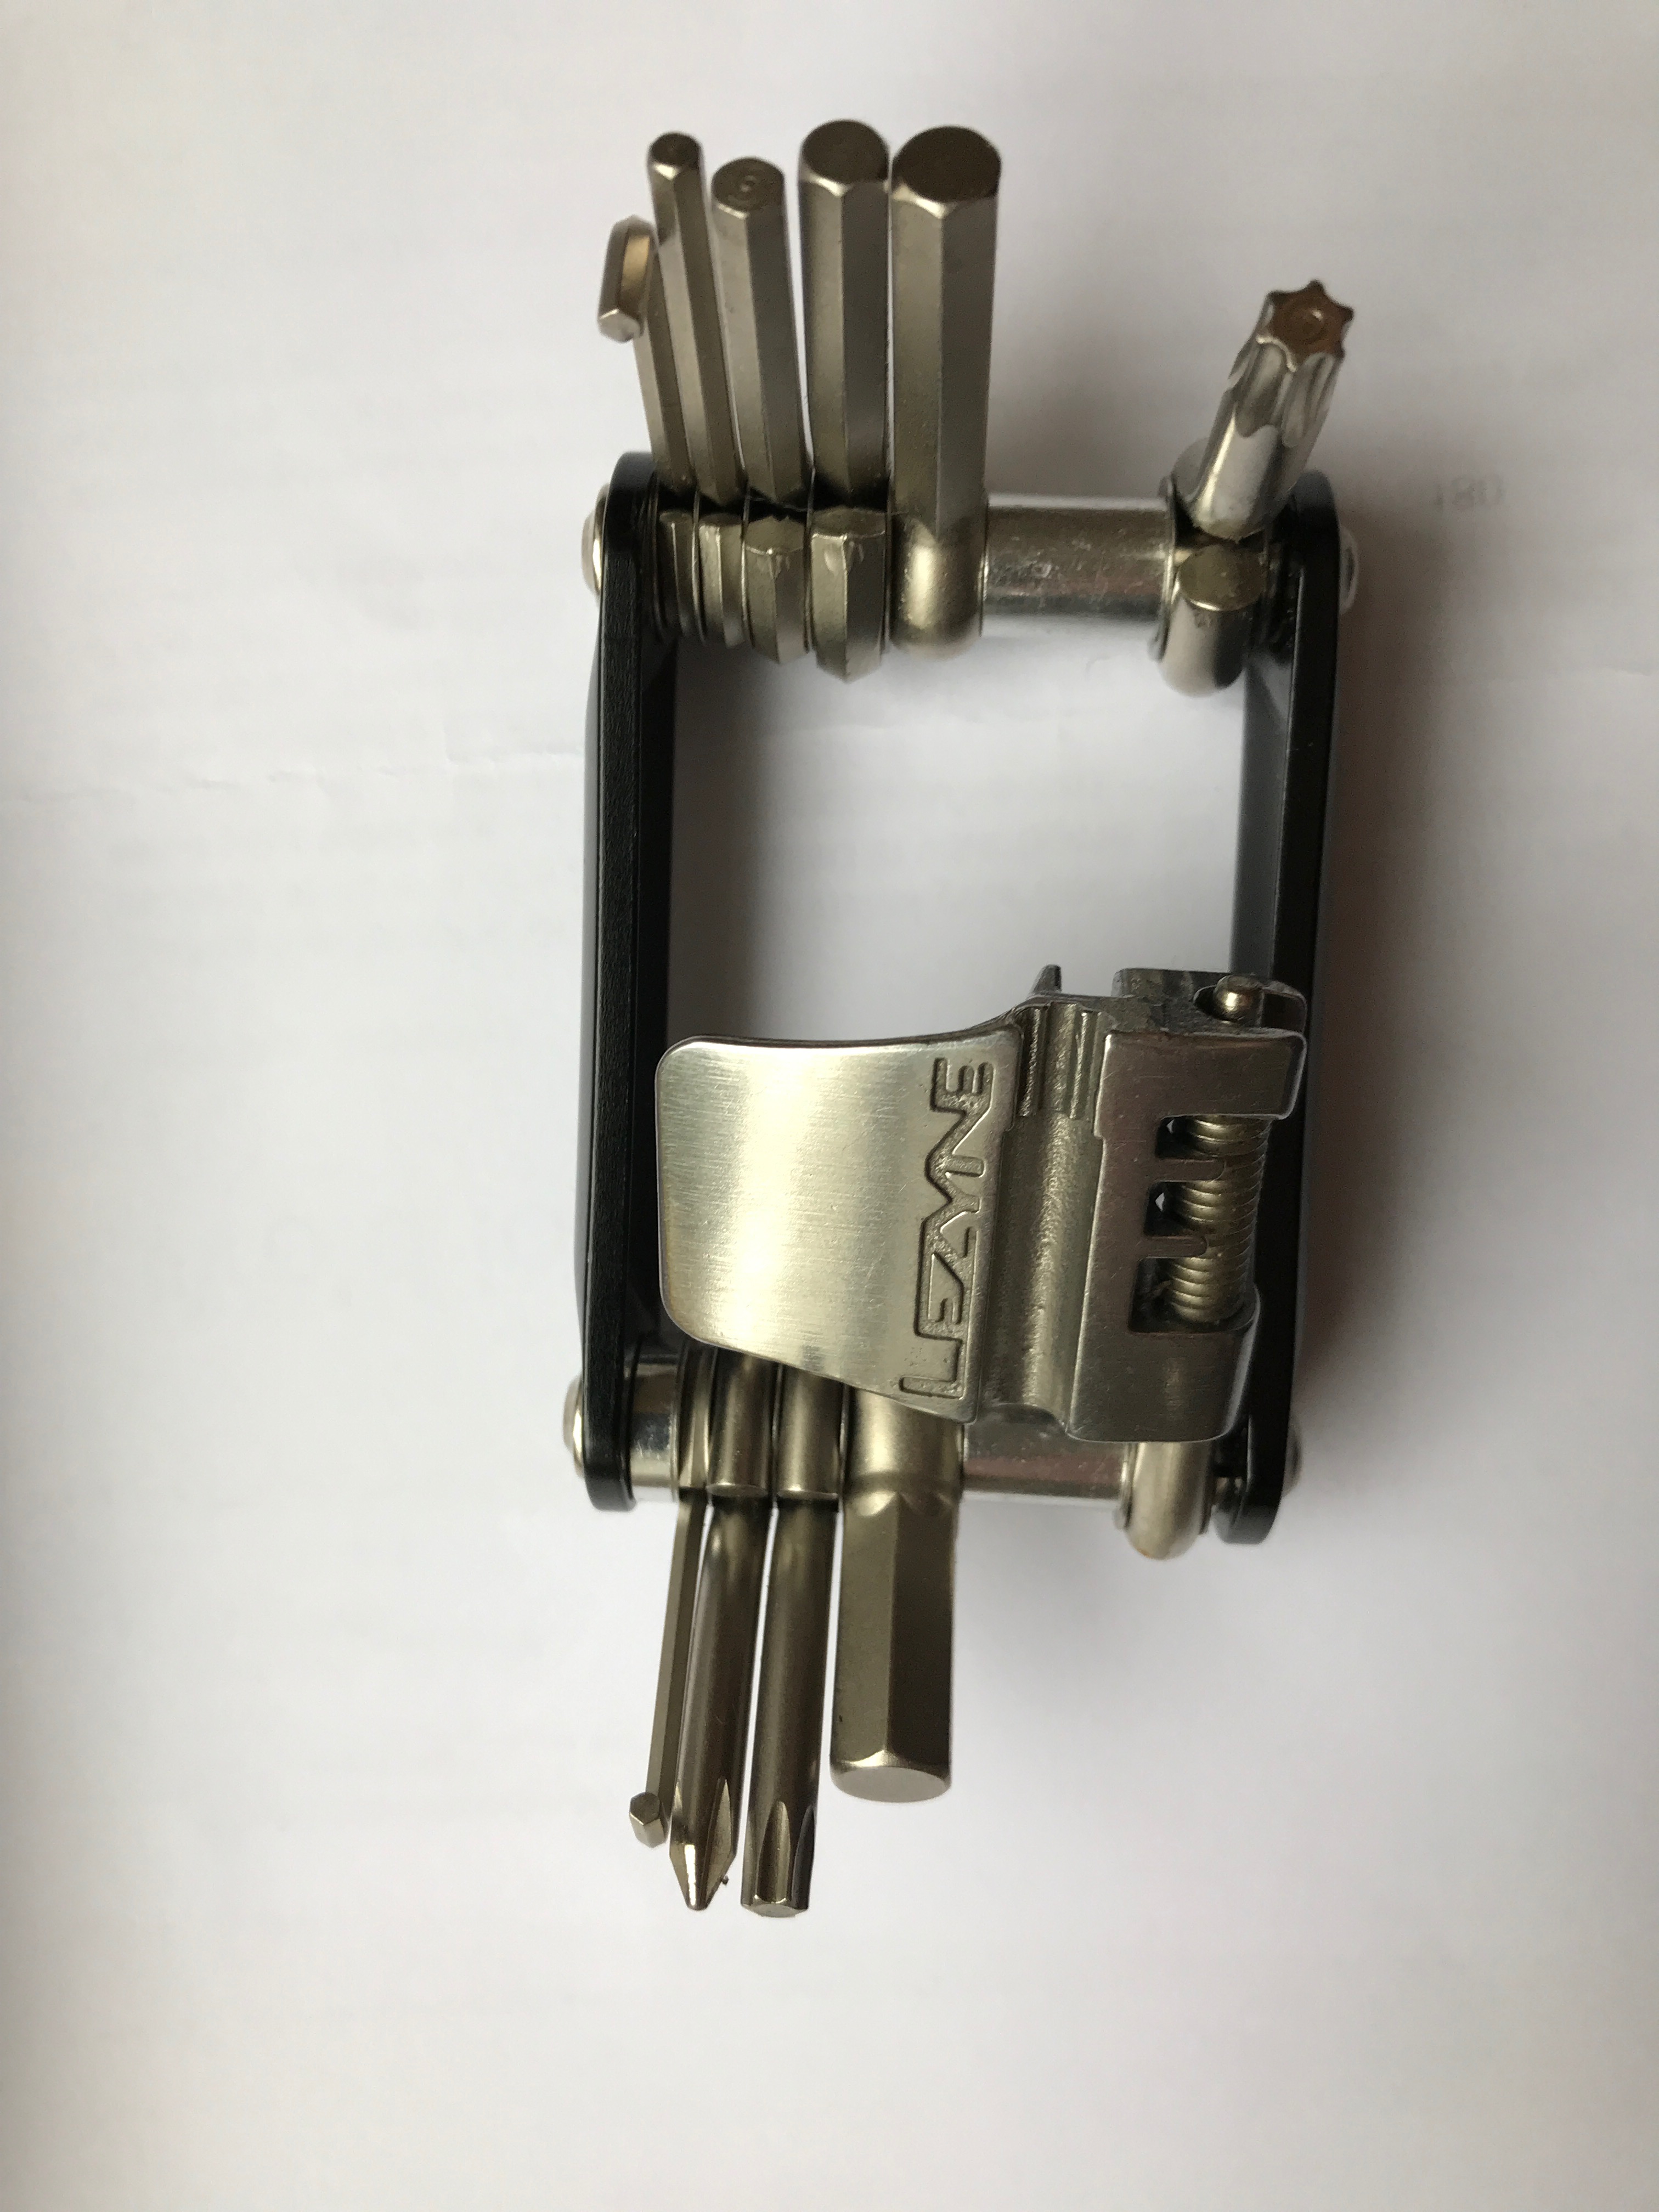
For long rides, such as multi-day tours, take spare spokes in your panniers and a spare hanger (see point 2 below).
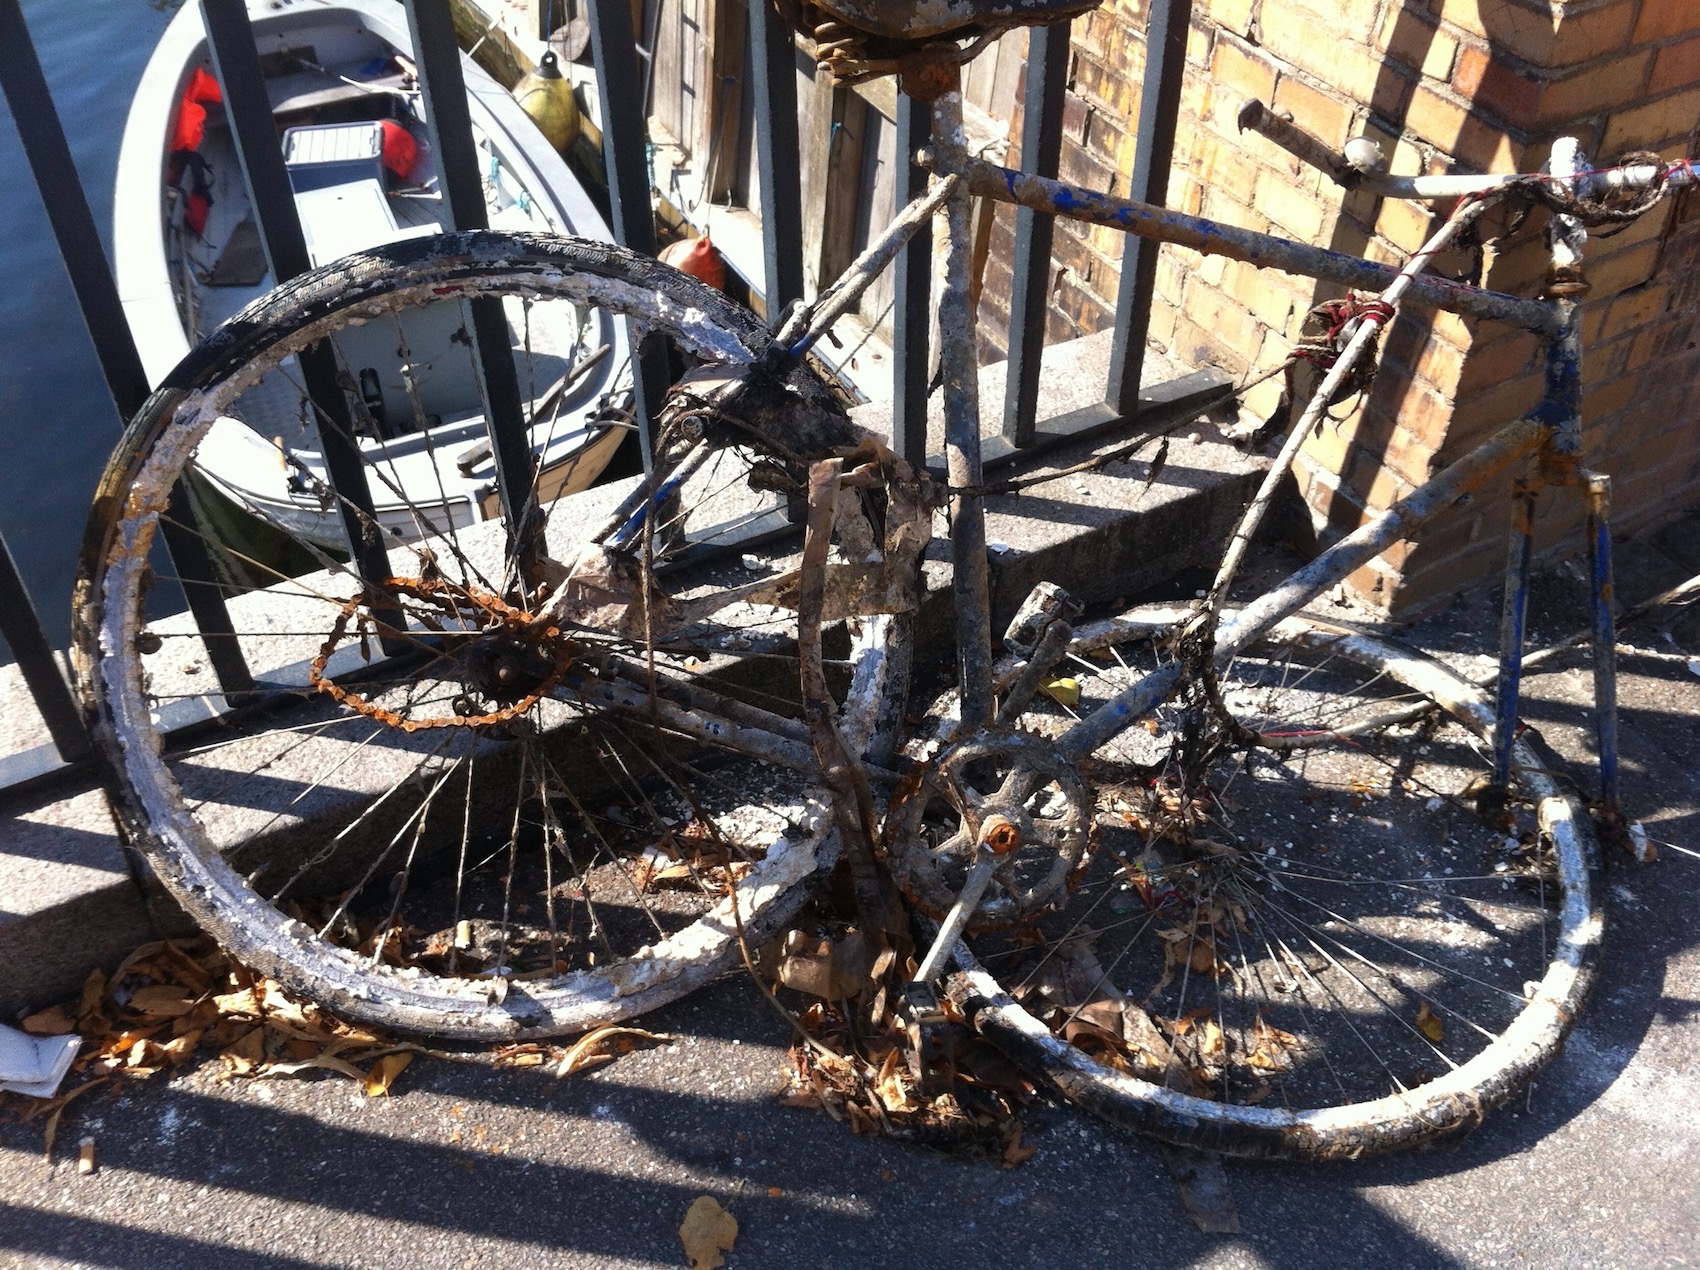
Typically the type of breakdowns you might encounter include a snapped cable, a snapped chain, a broken spoke, jammed gears, etc. The list could go on, such as a jammed bottom bracket, but we are only going to cover common mechanical issues in this post, we don’t expect you to have to deal with situations such as befell this poor bike below:-)
Safety alert. If you do have a fall on the bike, once you are sure you are okay, please make sure you follow British Cycling’s comprehensive M-Check of your bike before you attempt to ride it again. Also if it’s raining or getting dark, choose your get out of jail card of phoning a friend or a taxi to take you home or to the nearest bike shop, so take your fully charged phone rather than tough it out, it isn’t worth the risk.
This primer therefore is aimed at those of you who’d like to be more self sufficient when minor inconveniences arise and we assume you have a working knowledge of bike mechanics in the first place; there are plenty of courses you can take, or please check out YouTube for GCN as they do a good series of ‘how to’ roadside maintenance videos.
So let’s look at the common issues:
- Snapped Chain. So hopefully you have your chain tool and spare link. The process is pretty much straightforward, though I recommend that if you intend making this type of roadside repair then please please try it first at home to make sure you know how to remove the pins holding the broken link and know how to fit the new link and pins. Also check that you have the right tool, there is a difference between 10 and 11 speed chains and Shimano/Campagnolo. As a tip, make sure the tool is square with the chain to avoid bending pins or breaking the tool. Here’s a video from GCN on how.
- Snapped/Bent Hanger. This is the ‘sacrificial’ connection between the derailleur and the frame and is designed to snap or bend if the derailleur gets a knock. If slightly bent, then you can bend it back into shape sufficiently to get you home. If broken, and no spare, then as a last resort you need to remove the derailleur all together and remove a few links in the chain to make it into a single speed (use the inner chain ring and middle cog to keep the chain straight to avoid it skipping). GCN have a good video on converting to single speed.
- Jammed/Jumping Gears. If at the back, this can be due to a damaged hanger or derailleur, or the cable may be trapped. Check that the cable is free to move across the entire gear range, there may be some dirt or obstruction. If the cable is snapped or derailleur damaged, convert to a single speed. See above for how to do this. If at the front, again check the cable runs freely, especially.
- Rubbing Brakes. If when you set off for a ride and your bike is in good maintenance order, ie in ‘fine fettle’, and you detect that the brakes are beginning to rub, start by checking that there isn’t any muck or obstruction stuck in the brake. Then check that the wheel isn’t buckled. Rotate the wheel to find where it is rubbing and check the spokes (they should all ping nicely, if one is broken or it is loose/broken then it will give you a dull ‘twang’).
- Broken Spoke. The main issue is that the wheel will buckle and place stress on the adjacent spokes. You may feel some instability and it is likely that the brakes will rub unless you are using disc brakes. If broken, strap it to the next spoke (use a cable tie if you have one), then using a spoke tool tighten the two spokes either side of the broken one and if needed loose the next two to straighten the wheel enough to get you home. GCN have a good video on the technique.
- Snapped Gear Cable. If the front gear cable snaps then it shouldn’t be too much of an issue as the chain will move over into the inner chain ring, no problem to get you home. If on the back, then try either one of these (1) move the chain up a few cogs and screw in the top limiter screw to keep the deraillieur from going into the lowest gear. This is okay if you don’t have too many hills between you and home, or (2) remove the gear cable from the lever and thread it back to the deraillieur. Move the deraillieur to a low gear and then hold it there by placing a knot in the cable. GCN show you how.
- Snapped Brake Cable. Try to avoid by regular checks and replacing any cable that looks kinked or worn. If you do find yourself out with a broken brake cable and you don’t have a replacement, then do not try to ride home with one brake – ever. Use your phone and get home safely.
I hope you enjoyed these few tips.
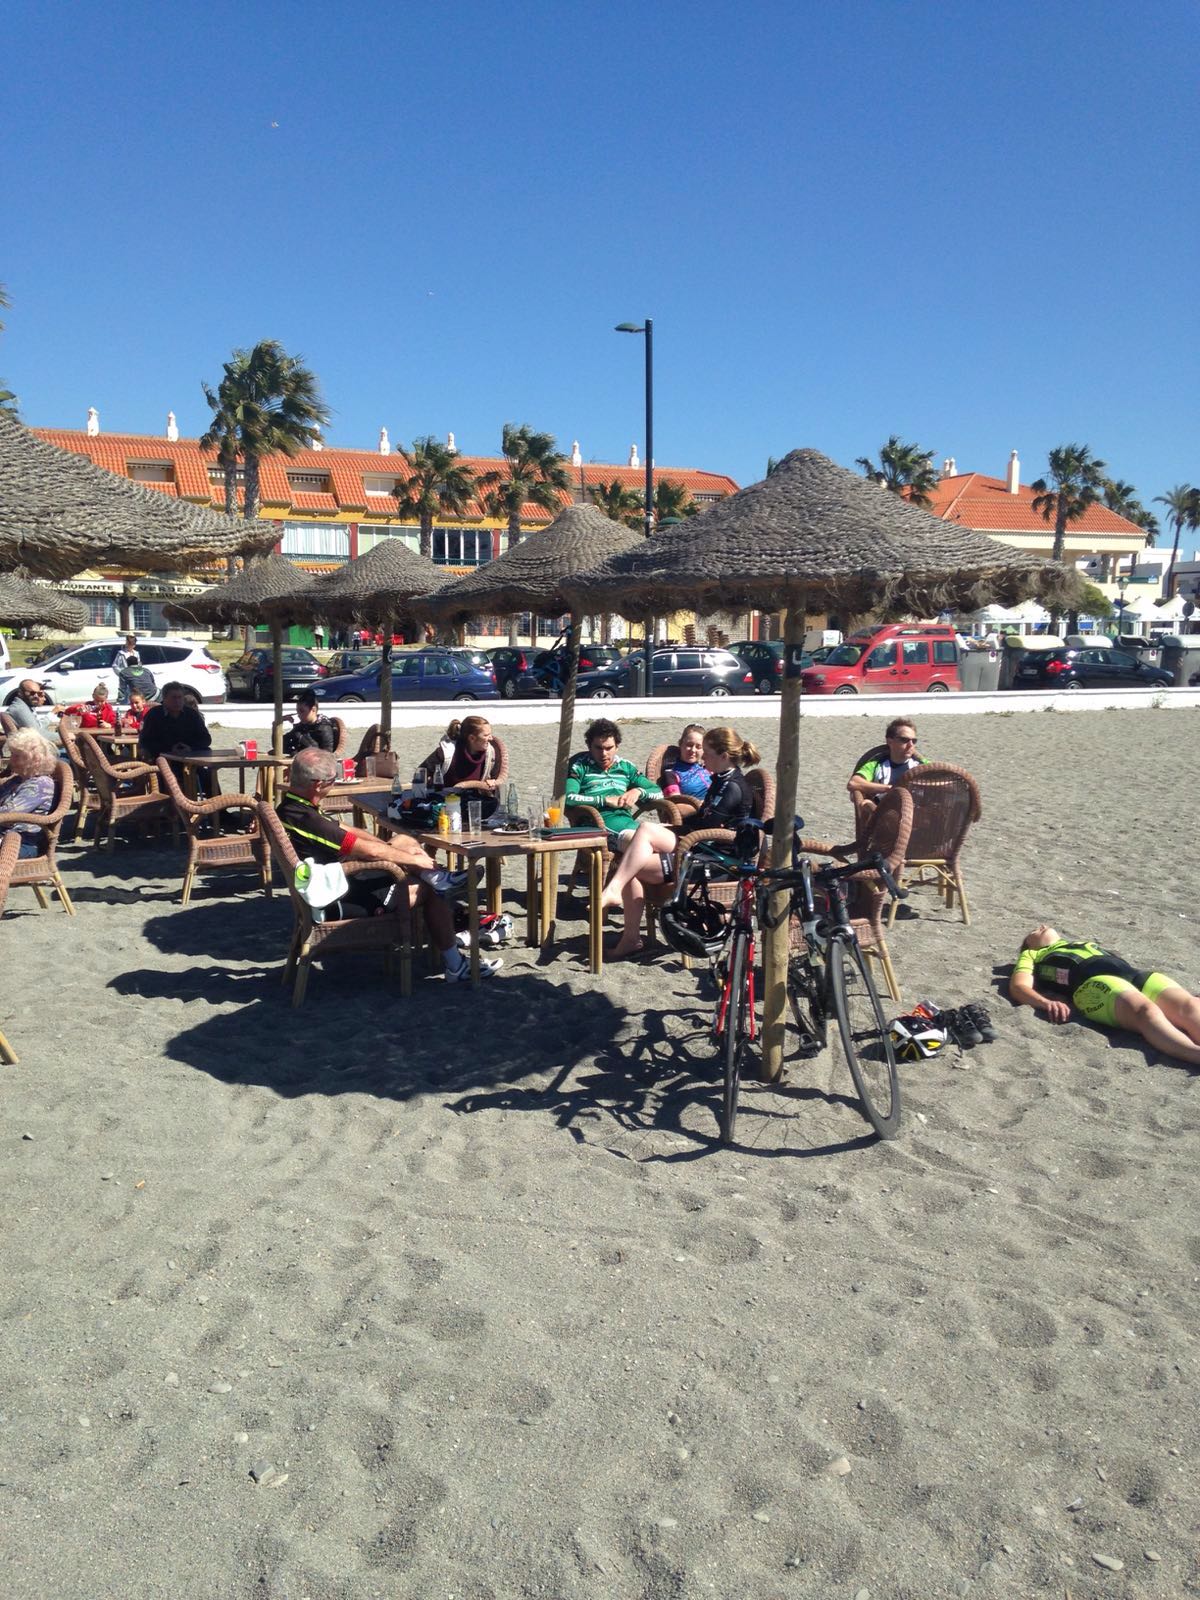
Enjoy your rides, remember that cycling is not always a beach, but sometimes it helps to be prepared when the worst happens.
Stay safe, Grant